Welcome to Part 2 of ‘Blogging Basics - How to Configure and Edit Your Blog Site in Octopress’. Now that we have successfully set up a Basic Octopress Blog site and written our first posts, we are ready to tune up the Blog site and add more functionality.
Configuring Octopress
When you first start with Octopress, you get a pretty basic layout.
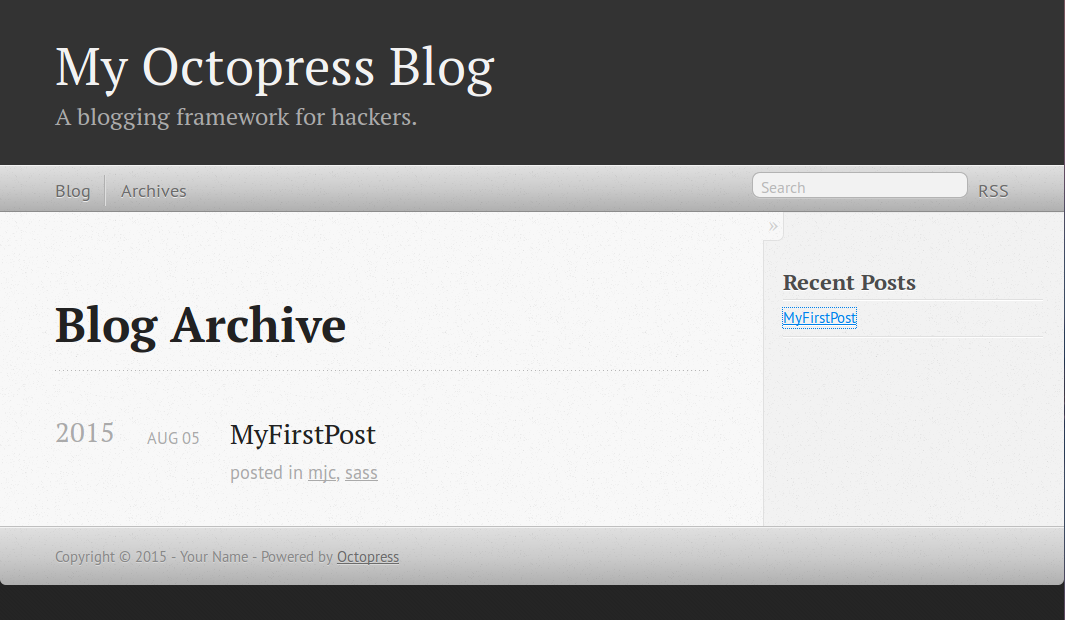
How do you change the boarder? How to you add to the Menu Bar and the right column where ‘Recent Posts’ resides? What are Templates and Themes and how are they and rss feeds used? I found that and more on at Octopress' docs “Configuring Octopress” http://http://octopress.org/docs/configuring/ to be quite informative. I followed that doc and others to get my blog to look professional.
These are some of the cool things I learned:
Change the banner
In _config.yml, edit here to change title, author &c.x
1 2 3 4 5 6 7 8 9 10 | |
Add pages to the paginator (menu bar)
Lets put an ‘About’ Item on the menu bar.
In the root directory, create a folder with the name ‘about’ and then add a index.markdown file.
In the bash shell, add a page and name it about. It will create a directory off root with that name. The file /about/index.markdown has also been created.
1 2 3 | |
Edit the index.markdown file.
1 2 3 4 5 6 7 8 | |
Now add the page to the pagenator (menubar). Edit the navigation.html in /source/_includes/custom
1 2 | |
So that it includes the about group.
1 2 3 4 5 | |
Add a Pages to the Sidebar
Lets say we wanted to add a page onto the sidebar. In this example our page is called ‘FruitFav’ which contain a set of favorite fruits. Create and edit ‘source/_includes/custom/asides/FruitFav.html’
1 2 | |
and the file might look like this:
1 2 3 4 | |
Edit your _config.yml file and find the line with default_asides and add /custom/asides/FruitFav.html
1
| |
The above example is somewhat static. What if I want to put my Category List in the sidebar? The categories should be discovered dynamically and they should provide links to all the posts in that category. For dynamic category action, I followed a path described by http://kaworu.github.io/octostrap3/blog/2013/10/03/category-list-aside/ but it didnt look good because I needed to install Octostrap3 theme. When I did that it looked better but it changed too many things for my taste. I then decided to change back to the classic theme.
Change a Theme
1 2 | |
After I did this I noticed that my posts dissappeared from the paginator. After hunting around I found that the property paginate_path in _config.yml was set to “blog/posts/:num”. Once I changed to “posts/:num” I got it back.
Install a Plugin
I decided to use the ctdk/octopress-category-list plugin.
https://github.com/ctdk/octopress-category-list
https://github.com/ctdk/octopress-category-list
Download the plugin and follow the instructions in the readme file. Add the plugin into the ./plugins directory and (in this case) copy the template (html) files into ./source/includes/custom/asides directory and then add the template file names into the default_asides list of config.yml file.
How to get social
With facebook, linkedin, etc.