An RFduino is a tiny fingertip sized Arduino that features wireless Bluetooth. They also make available a small assortment of tiny stackable shields including USB, battery, buttons, relays and servo shields so that you can make a number of cool projects. The website provides documentation and apps for demonstration, but I thought I could show you how I set up my projects in one concise document.
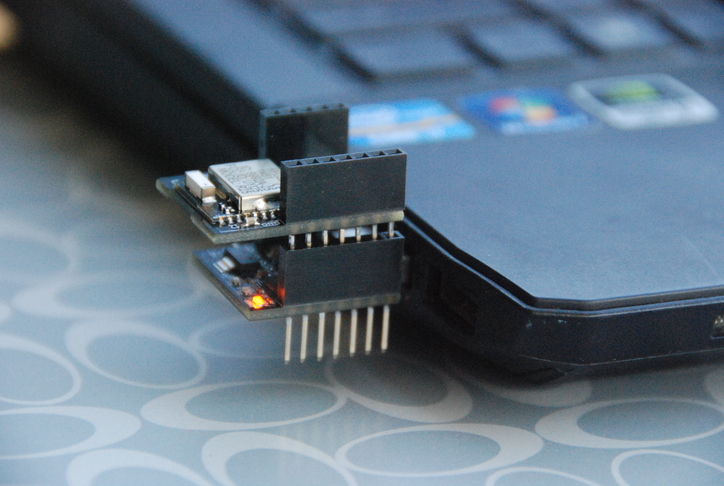
For starters, I purchased the standard RFduino RFD22102 with wireless Bluetooth . But in order to download any sketches into this Arduino, I also needed the RFD22121 USB Shield. This shield is also an easy way to provide power to the RFduino as I can power everything through a USB charger or power pack.
For my development system, I ventured over to the Arduino site and downloaded the IDE. In my case, I am using Ubuntu but they have IDE’s for Windows and OS X. I simply followed the instructions for Ubuntu which was basically;
1
| |
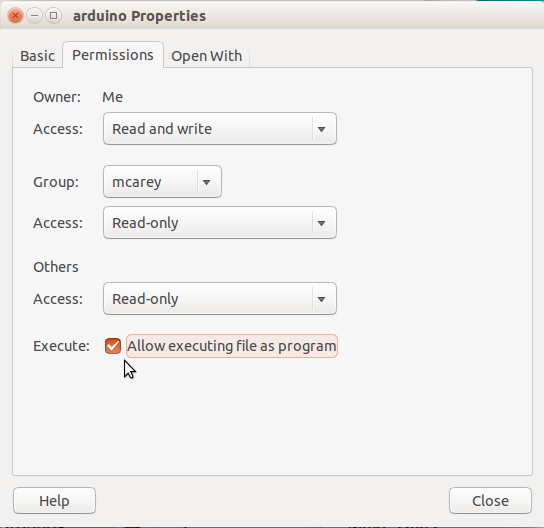
In my case, it is installed in /opt/arduino-1.6.3/ folder but I linked the Arduino binary to my desktop. Because it is a binary executable that I click from my desktop, I must tell my OS that I wish to run and not edit or view it. I can do this by right clicking on the Arduino icon and selecting properties. Under the permissions tab, I selected the check box for ‘Allow executing file as program’.

The Arduino software does not natively recognize the RFduino so there are some steps to download the RFduino code. The RFduino site documents the installation procedure so after you install the Arduino software, go to File/Preferences and add http://rfduino.com/package_rfduino_index.json to Additional Board Manager URLs and save.
Now open Tools/Board/Board Manager, and select RFduino at the end of the list and click install. After that, select the RFduino will will now appear in the Tools/Board menu Now go to Tools/Port and configure that. On my Linux machine, it appears as: /dev/ttyUSB0.
You may also need a Virtual COM Port Driver.
Finally, for Linux, enter:
1
| |
With that installed, connect the USB shield to the RFduino and insert it into the computer.

Navigate to File/Examples/RFduinoBLE and select the Temperature example sketch. Then File/Upload to compile, upload and begin execution.
From an Iphone, go to the Apple App Store and search for RFduino Temperature and install it.
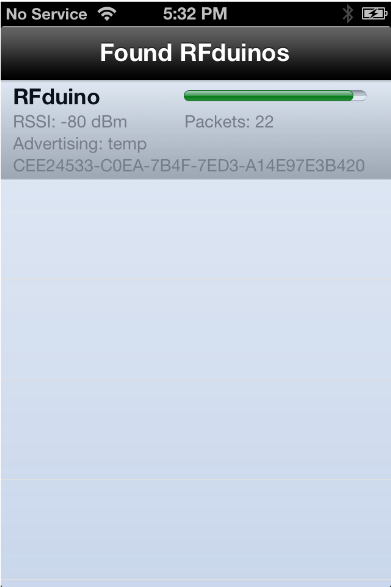
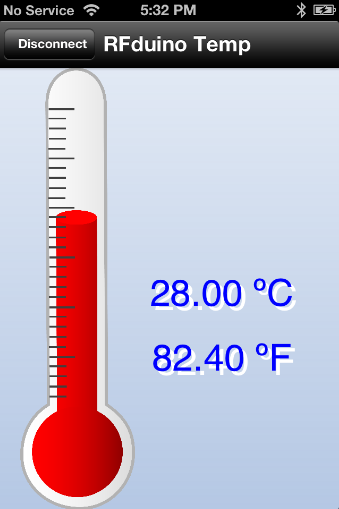
Now open the Iphone Temperature app and it should automatically find the RFduino. Click on the RFduino Text and the temperature should be displayed.


Summary
This is just the simplest project. Now that you have seen the basics of programming with the Arduino IDE and RFduino, go out and create all kinds of interesting projects. Do cool things.

